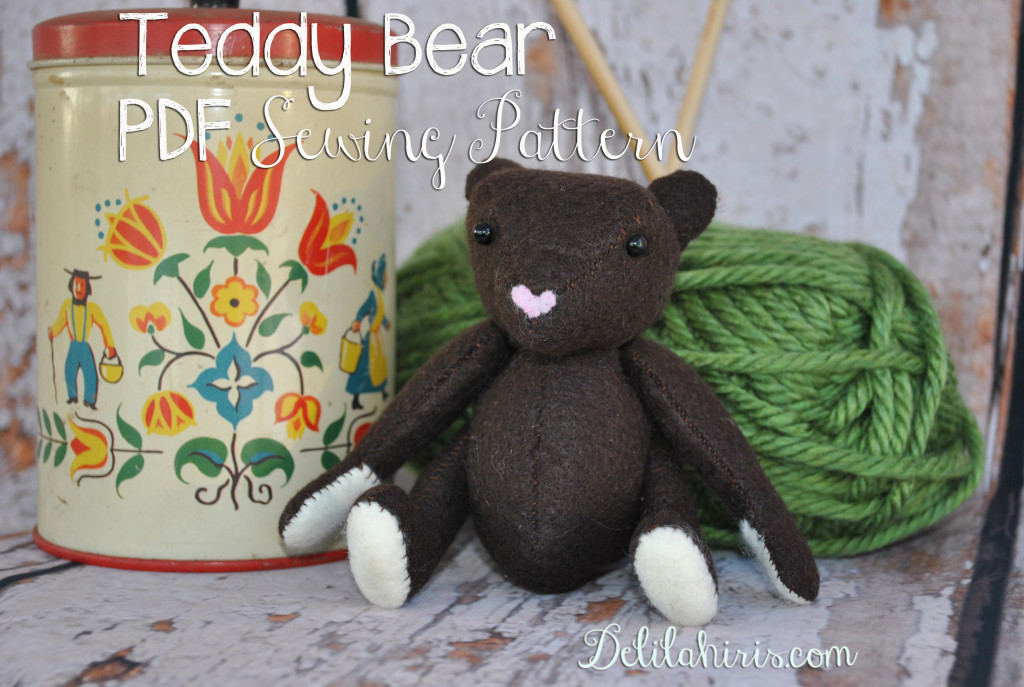
Vintage Style Teddy Bear Sewing Pattern
When I was a little girl I had a thing for Winnie The Pooh. Not the cartoon, Disney style pooh bear. But the classic Pooh, and better yet something reminiscent of an old fashioned fat little string jointed Teddy Bear Pooh.
I had once known a friend of the family who had a very old, vintage Pooh bear. It was made from wool felt and mohair. She kept it behind glass in a display case in her foyer. Oh how I wanted to hold that bear! I always thought of it and looked for something similar over the years.
Until one day I decided to make my own. I sketched out the pieces and sewed it with felt revising the pattern until it came out perfectly. And now I’m sharing my teddy bear sewing pattern with you! Even better, I’m sharing it for free. Because every little girl should be able to have that special bear behind the glass. Don’t you think?
 What You’ll Need:
9” by 12” wool or wool blend felt
contrasting color wool felt (or blend)
for paw pads and nose
6 mm safety eyes
needle and thread
doll making needle
embroidery thread
Other suggested fabrics:
100% mohair wool
cotton fleece
teddy bear fleece
Begin by printing the teddy bear sewing pattern (print page 6 for pattern pieces only) and trimming the pieces from the paper. You can choose to cut all of the pieces from the paper as I have done, or simply trace them all with sewing chalk or invisible ink. If tracing with pen or chalk the instructions will be slightly different. You will be trimming the pieces roughly (outside of the pencil marks) and sewing the seams directly onto the traced marks.
Start sewing your bear by attaching the paw pads to the upper arm piece by matching the paw pieces to the upper arm pieces (compare to the opposite arm piece for placement) and hand stitch across the wrist.
With right sides together sew the arm pieces together leaving a small opening for turning right side out.
Sew the leg pieces together (with right sides facing) starting at the bottom back and ending at the bottom front, leaving the entire bottom of the foot open and also leaving a opening at the upper back of leg for turning. Stitch the bottom of foot paw pad into place.
Sew the body piece together stitching front to front and back to back. Sew both pieces together leaving an opening (for filling with stuffing) at the top where the head will be attached.
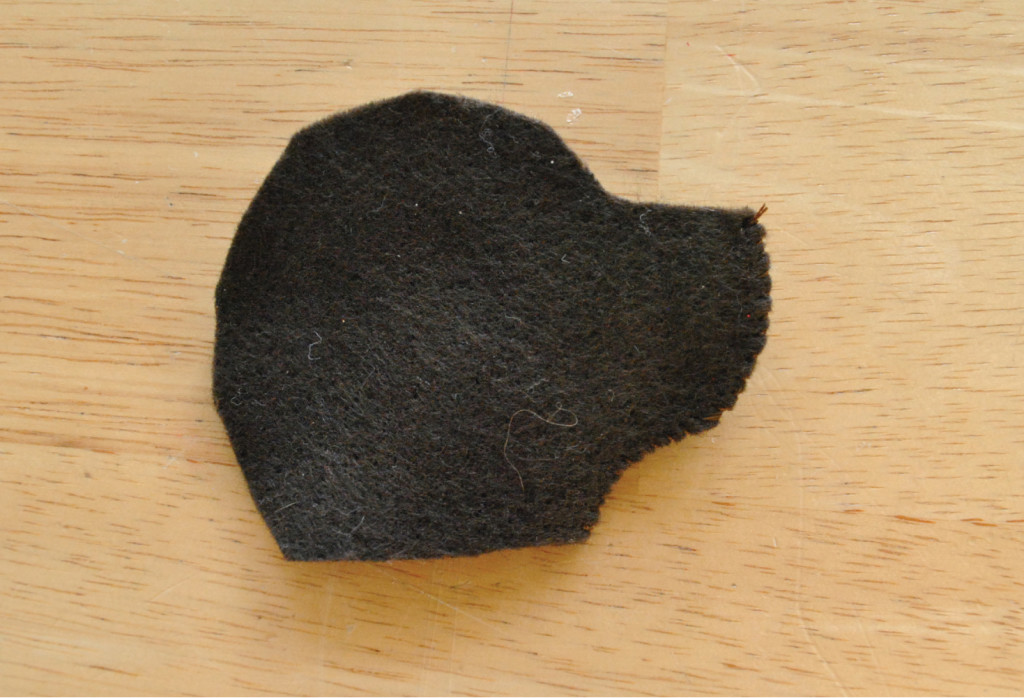
Stitch the head pieces together beginning at the neck and stopping at the nose.
Starting at the nose begin sewing the upper head piece from nose to back of neck. Sew the opposite head piece on starting at the nose and again working toward the back, ending at the back of neck.
Turn all pieces right side out. You may need to utilize a turning tool or tweezers for some pieces. Stuff all pieces with the exception of the head to desired fullness and hand stitch all openings shut. Stitch ear pieces together , turn right side out and fill. Next you will sew the ears to the head. I recommend playing around with ear and eye placement to achieve different looks to your teddy bear’s face.
I generally pin the ears in place and use ball point sewing pins to play with eye placement. When you’ve decided on desired ear placement stitch the ears into place.
Install safety eyes by piercing a small hole with scissors or a craft knife, insert the eye post and press the washer onto the back from the inside of the teddy bear head. Sew on a nose either by choosing to use colored embroidery thread or contrasting colored felt. I cut a very small piece of pink felt into a heart and sewed it on with pink thread.
Stuff the teddy bear head and baste stitch around the bottom of the head (neck area) and pull the threads to pull the head most of the way shut. Secure some embroidery thread to the bottom part of head and tie off with a long thread. This thread will be used to create the string joints on the teddy bear.
Using a doll maker’s needle train the thread through the hole at the top of the body and out the side of the body where a leg or arm would be placed. Thread the needle through an arm or leg and back into the body at the same general point where the thread exited.
Train the needle back through the body to the opposite side to attach the opposite appendage. Continue working this way to attach each appendage as well as going back through and reinforcing already existing stitches. End by training the thread back up through the head/neck portion and securing the thread in place.
Finish by switching back to your regular thread and needle and stitching the head securely to the body.


