
I use a lot of different doll eyes in my work, but true locking safety eyes with washers are the single thing I use the most. I have a lot of customers reach out about how to install safety eyes. So I wanted to touch on the tips and tricks I like to use, in detail.
The Different Kinds Of Doll Eyes

I offer several different kinds of doll eyes here in my web shop. Let’s go over the different kinds and how they differ.
Traditional Locking Safety Eyes – These kind of safety eyes are the most difficult to install, so I’ll be going over exactly how to install them, step by step, below. These safety eyes have a post on the back and come with washers to fit over the post. The post is ridged so that once the washer is pushed into place the washer locks into place. Because of the ridges the washers can sometimes be harder to install. But I like these the very best because the washers fit very snug. There is much less danger of the eye coming loose, falling off, or even ending up in the mouth of a small child.
Safety Eyes With Washers – The majority of safety eyes have a backing post with a washer to hold the eye into place. Some fit snug but are not ridged. These can often easily be pulled off and on. I like to use these for art pieces and toys for older children.
Sew In Eyes – These eyes have no backing or post, but have holes drilled for sewing the eyes to the fabric or felt. These are very similar to a bead, but with the holes sitting closely together at the back.
How To Install Safety Eyes With Pliers
The best way to install locking safety doll eyes are with a small set of pliers.

Some tools and supplies I recommend having on hand:
- pliers
- small set of scissors
- duct tape
- tooth pick

I like to start by using a pin to get a sense of where I want the doll eyes to sit once installed.

Poke a hole through the felt or fabric where you want to install the eye. The hole is for fitting the eye post. Here I layered both sides of the horse I was sewing, so that the eyes will be installed on the exact same spot on both sides.

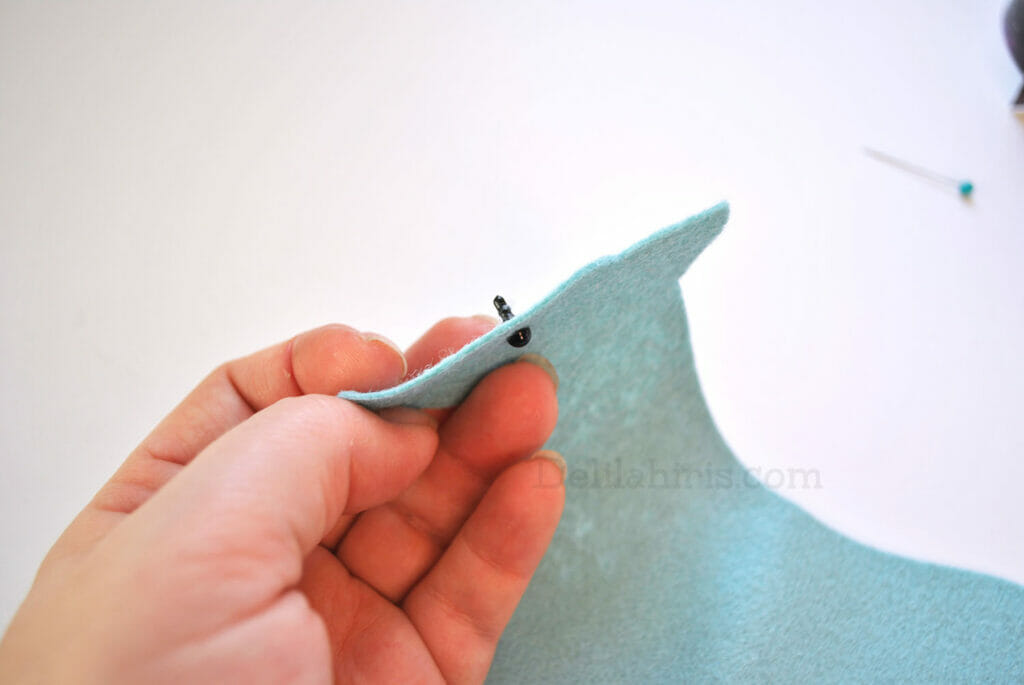
Insert the eye post through the hole.

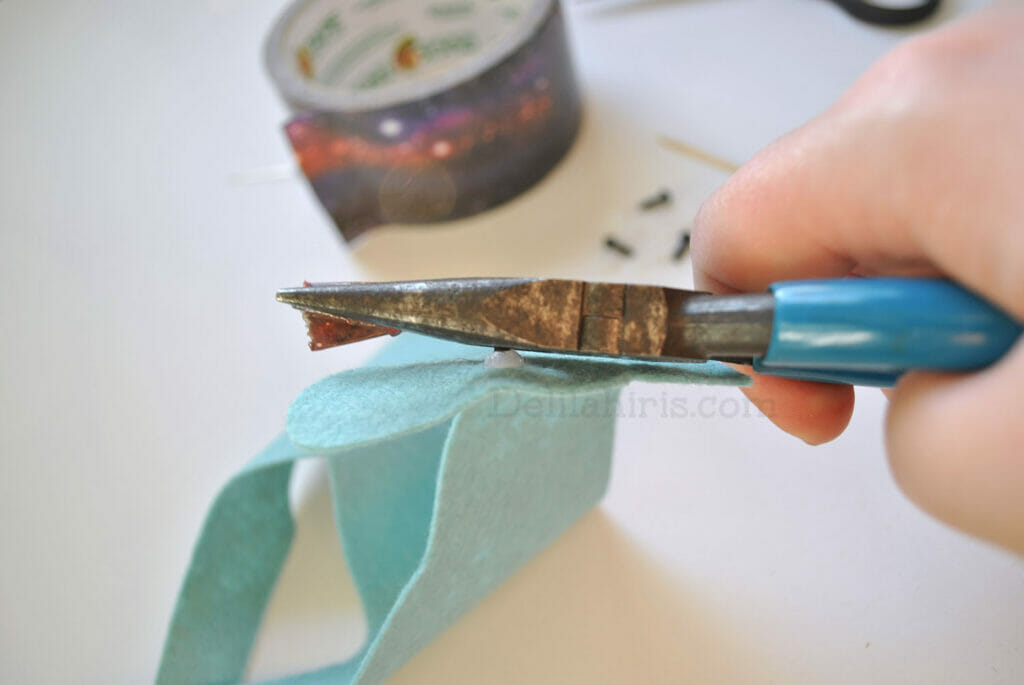
Tear off a small piece of duct tape and wrap it around the bottom half of the pliers. The reason for doing this is to give some traction to the safety eye while pushing the washer in place, while protecting the eye from being scratched. For even more traction you could even face the sticky part outwards. This will prevent the pliers from slipping at all.


Place the washer onto the post and apply pressure downward on the washer while holding the pliers on the eye and washer at the same time.

Once the washer and felt are snug against the back of the eye you can clip the end of the post off. Done!
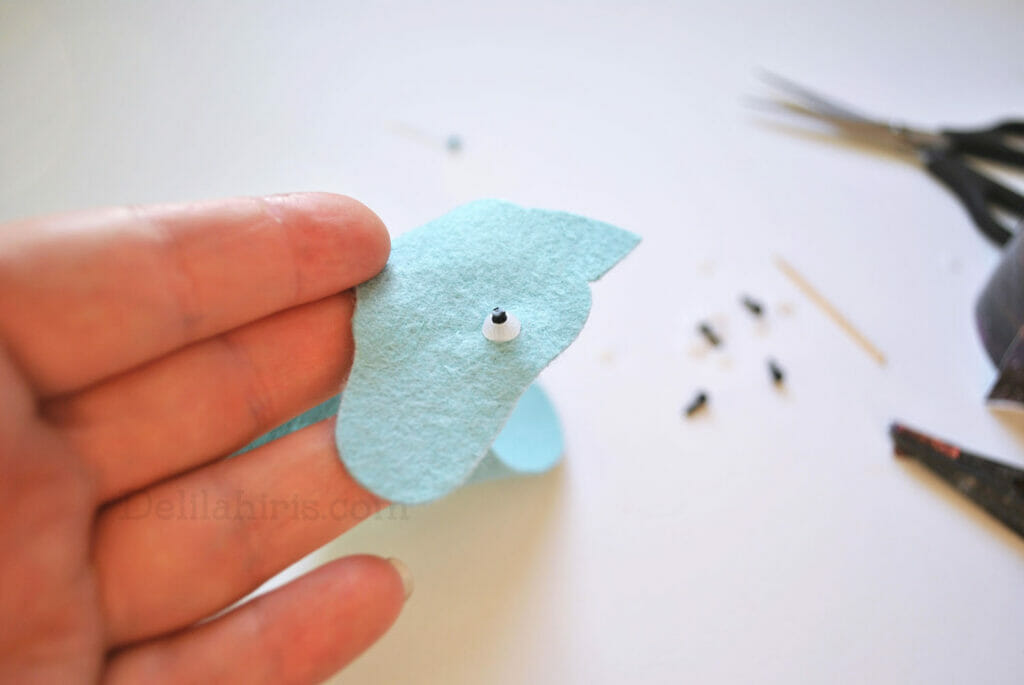
Now you know how to install safety eyes safely and with ease!