
When I first learned to cut felt with a Cricut personal cutting machine, let me tell you, it was SUCH a game changer! This handy little machine will save you so much time and frustration! Cutting felt is hard! And the Cricut Maker makes it so easy.
The Best Little Felt Cutting Machine
If you’re going to buy a cutting machine with felt crafts projects in mind, I recommend the Cricut Maker first and foremost of those available on the market. The thing that makes the Maker stand above the rest in cutting felt in particular is it’s rotary cutting blade attachment. If you intend to cut felt this is a must.
Next you will need the extra sticky specialized mats made for fabrics and felt. These mats are pink and are available in sizes 12″ by 12″ and 12″ by 24″. I always keep a pile of the 12″ by 24″ mats on hand as they are a perfect size for the 12 by 18 inch sheets of felt available in my Felt Supply Shop.
How To Cut Felt With The Cricut Maker
Cutting felt with the Cricut Maker is actually really easy. Cricut comes with it’s own design software that allows you to set up the shapes to cut on your mat. Cricut Design Space comes with an entire library of shapes and projects for free and for purchase, which are great to learn with. But don’t forget, many of DelilahIris Felt Patterns come with their own files designed specifically to upload to the Cricut Design Space.
Here’s a quick primer to get you started.
Once you get signed up and registered with Cricut Design Space, you will see a button to the right side of the screen that says “New Project”. Clicking on that button will bring up a brand new canvas to load onto your Cricut Mat.
The canvas shows a grid with rulers at the top and right. This grid is set up exactly like your Cricut Mats so that you will know exactly on your mat where the shapes will be cut.

To import your DelilahIris cutting files, click on the little cloud button that says “Upload”.

At the next screen you will see a button to upload images and files from your computer. DelilahIris Designs provides files in the form of SVG, DXF and sometimes PNG. Click the button and navigate to the files on your computer.

Most files will come with all of the shapes grouped. To arrange the shapes and duplicate you will first need to press the “ungroup” button from the upper right corner. Select the shapes you would like to duplicate and hit the “duplicate” button. You can moves shapes around on the mat, duplicate and even rotate or flip them.
If you want the shapes to stay in their exact placement you will want to select “select all” from the menu at the top, and select “Attach” fromt the menu at the lower right. This will keep all of the shapes in their exact spots on the mat. Otherwise Cricut Design will try to arrange them together to maximize space.
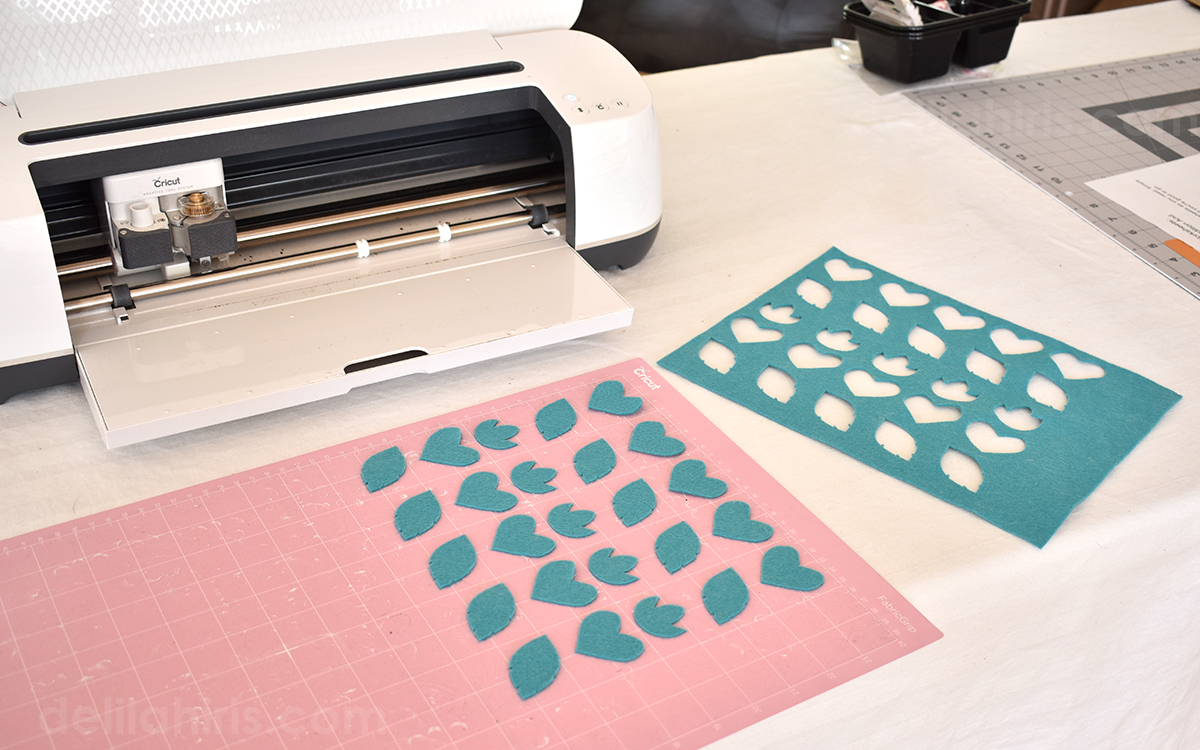
Below I have duplicated many shapes to cut from smaller, 9 by 12 inch sheets of felt.

To move on to cutting, click the “Make It” button. A new window will open confirming the shapes placement on the mat and which size mat you wish to use. If everything looks good here, click “continue” in the lower right corner.

You will be brought to a new window once again. This is the last window before actually cutting your felt on the Cricut Maker. Here is where you will make some last minute adjustments, and make sure your Cricut is connected to your computer.

First you will want to make sure your Cricut knows that you are cutting with felt. I have mine set with felt as a “Favorite” in my materials, so it shows up automatically. You may have to click the “Browse All Materials” option to the right and find the felt option.

Next you will want to choose a Pressure for the Cricut Blade. I almost always choose “Less” pressure. By using less pressure I am lengthening the life of my cutting mats.

The last step in Cricut Design before moving on to cutting your felt, is to choose a blade, This is really important for a precise and clean cut.
Click the option to “edit tools” and choose the rotary blade. You will need to have the rotary blade installed in your Cricut machine. The rotary blade is available as an extra attachment option and will need to be purchased separately from your Cricut.
Once you’ve completed all of these steps in Cricut Design you are ready to load your mat into the machine and begin cutting!
Line up the felt with the top of the grid on your Fabric cutting mat and load it into your machine. The Cricut emblem will start flashing when it is ready to cut. Push the flashing Cricut button and your machine will cut the felt!